


Successful flatlay photography invites your viewer into a world that you have created – it should be welcoming, interesting, and thoughtfully composed. A few simple composition tweaks outlined below will take your imagery to the next level.
Dimension
Though it’s called a flatlay, successful images are anything but flat! Adding dimension and layers to your image will create a sense of space through shadow and make your image more interesting to look at. (If you’ve been following me for a while you know that the more interesting an image is to look at, the longer your audience will stay engaged with the image. Longer Looking = More Sales!).
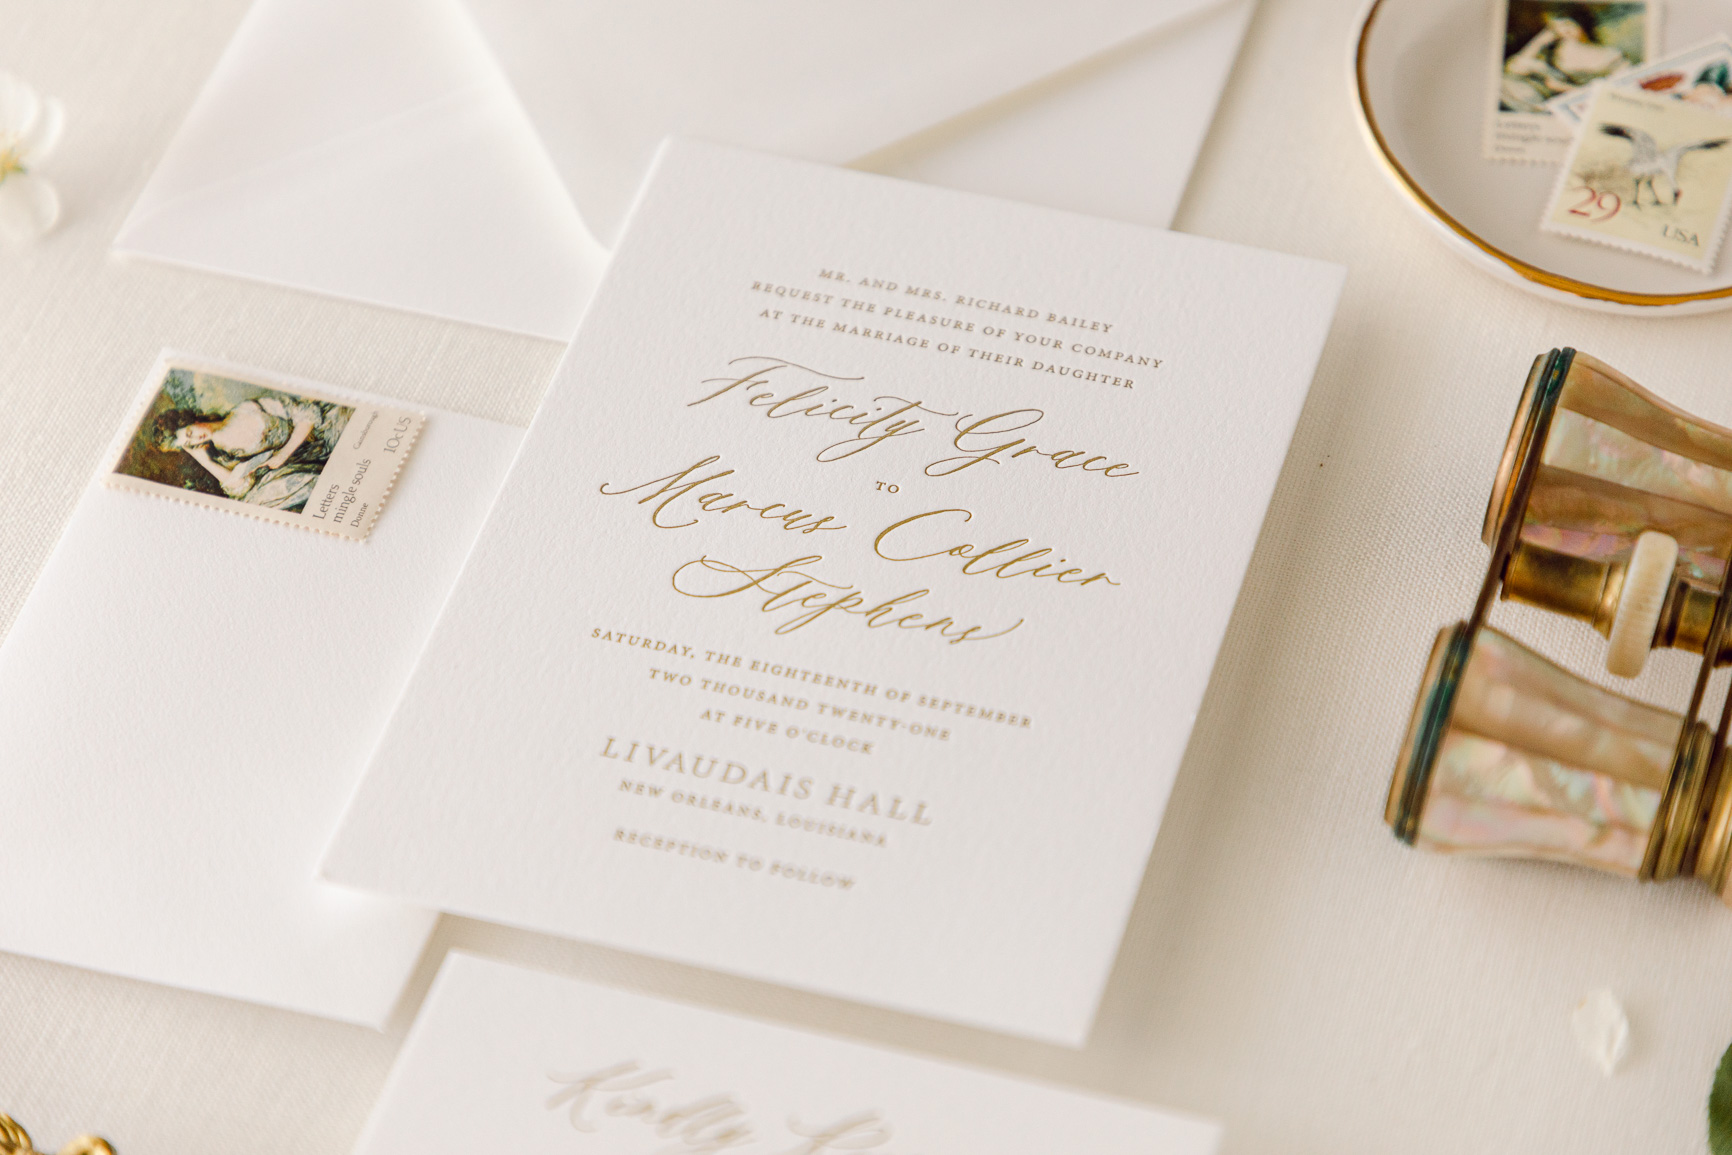
My favorite way to add dimension is by adding height underneath key elements of the image that I want to stand out. In the image below, I’ve propped up the invitation and the rsvp cards which creates a visual hierarchy and calls attention to those pieces. Another bonus of elevating specific items is you can easily layer other pieces underneath while keeping the elevated piece perfectly flat.

Texture
The quickest way to change the aesthetic of an image from modern to fine-art is by adding texture. Texture can be achieved through a variety of props like:
- a gauze table runner
- handmade ceramic dish
- hand-painted backdrop
- linen backdrop
- handmade paper
- natural elements, like wood
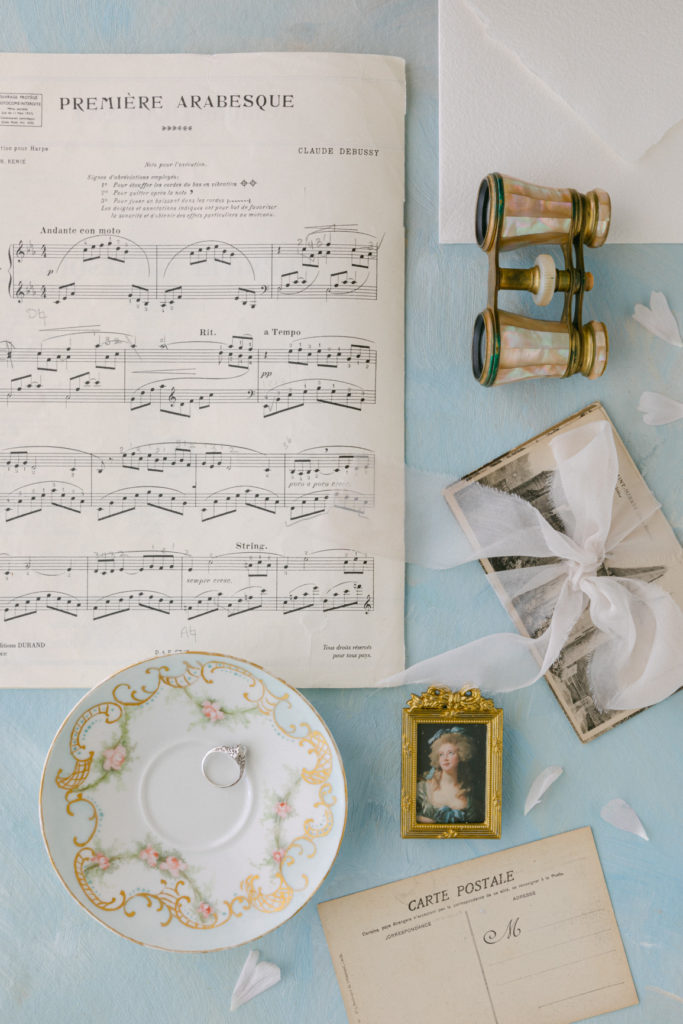
In the image above, I used a hand-painted backdrop, antique postcard, silk chiffon ribbon, and handmade envelope to lend a variety of textures and interest to the image.
Leading Lines
Directing your viewer where to look and indicating what is important by incorporating a strong leading line in your image is the simplest and most effective way to immediately improve your image.
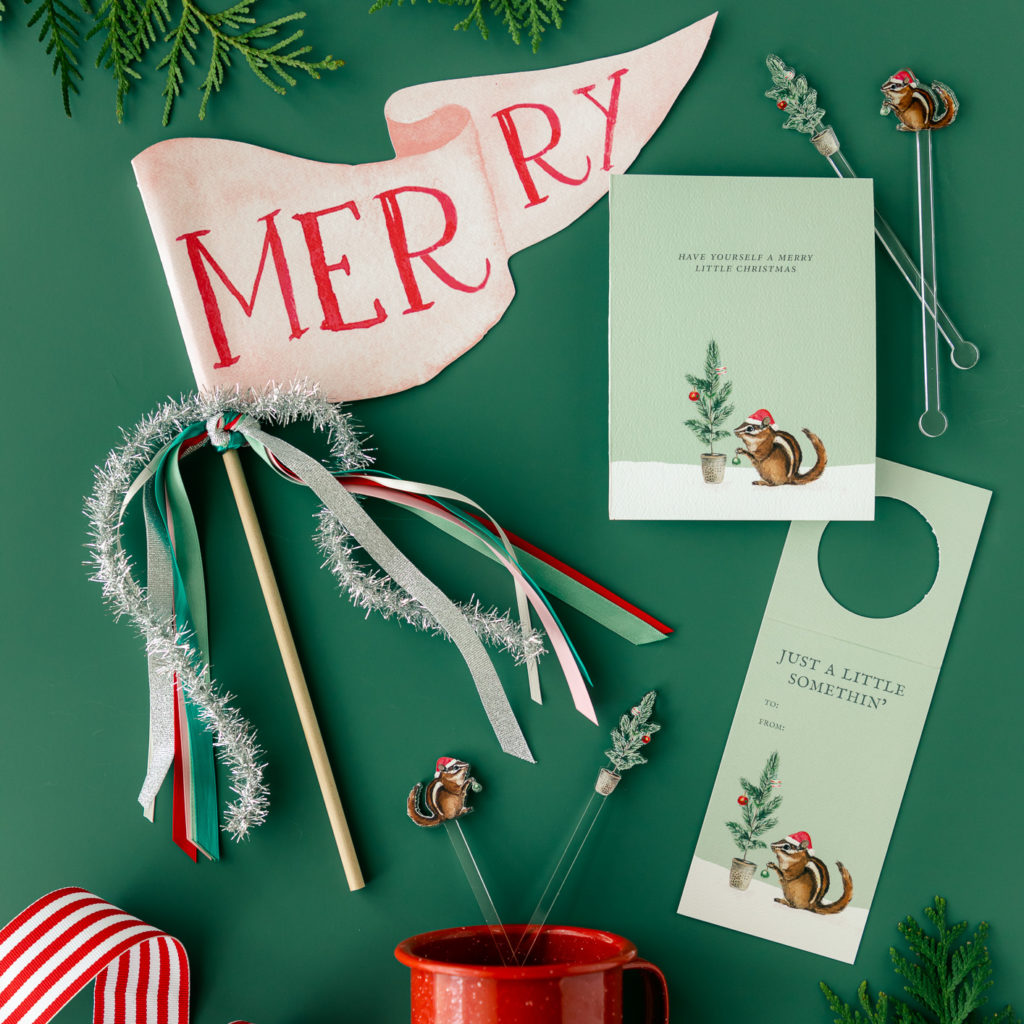
A leading line is creating by placing a prop pointing toward the hero of your image (your product). In the image below, I’ve created a series of leading lines to carry the eye around the image. The first leading line is from the stir sticks coming out of the red mug – one points up toward the pennant and one points toward the card and gift tags. The second set of stir sticks in the top right of the image point down toward the gift tag, and the gift tag points toward the mug which directs your eye back to the first set of stir sticks to begin the circle again.


liked this post? leave a comment!